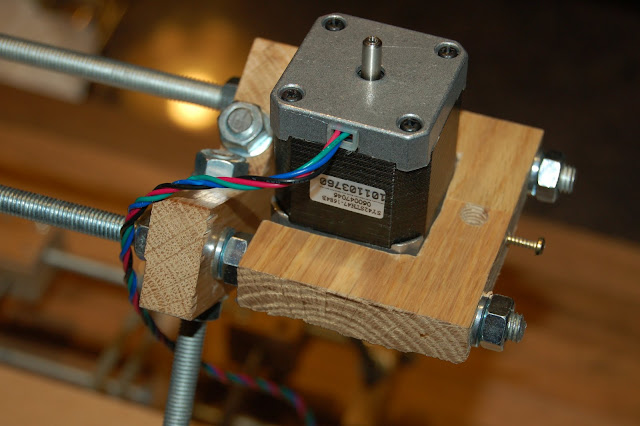
In an earlier post (here ) you'll see my x-axis design and trial assembly. It's come time to assemble it more precisely and more permanently. To align the x-axis ends with the vertical rod clamp positions I simply left some length on the z-axis rods, extended them upwards, inverted the x-axis assembly and sat it on top (see pict). This kept everything in position until I secured the x-axis rods.
I drilled and fitted four brass screws in each end. Here you see the x-assembly in it's up-side-down position on top of the printer.
Here you see the x-assembly now in place on the printer. I slackened the bottom clamps on the z-axis rods, and raised and lowered the x-axis assembly by hand until it travelled without resistance up and down, then I locked the z-rod clamps. Next it's on to design my x-axis motor and idler mounts!
Thanks for viewing, feel free to add comments or ask questions. I'm also contactable via PM (personal message) on the RepRap Forum (forums.reprap.org) under username "NumberSix".
With the reprapped x-axis ends you have a captured nut and lock-down bolt to hold the x-rods in place. In my wooden rep-strap design I abandoned this as too complex to incorporate in wood. Instead, I've come up with the following simple approach to secure the rods.
A small brass screw, fitted to a pilot hole which glances the stainless rod holds it in place very firmly. The tapered nature of the screw means that it pushes more on the rod as it advances into the wood.
Here you see the x-assembly now in place on the printer. I slackened the bottom clamps on the z-axis rods, and raised and lowered the x-axis assembly by hand until it travelled without resistance up and down, then I locked the z-rod clamps. Next it's on to design my x-axis motor and idler mounts!
Thanks for viewing, feel free to add comments or ask questions. I'm also contactable via PM (personal message) on the RepRap Forum (forums.reprap.org) under username "NumberSix".


