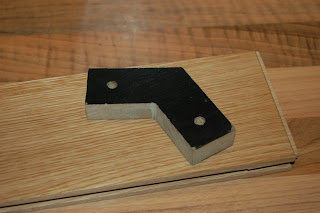
The 'frame vertex', or what I might more loosely call those corners on the equilaterial triangles of the RepRap Mendel frame, is a lovely simple little joint. But, try find a dimensioned drawing that you can easily use to reproduce one of those joints in any other way than on a 3D printer! That's the whole point you might say!
Anyway, I eventually gave up looking and did my own 'old school' drawing, so I could make a template for my 'corners'. A good starting point.
I went with 60mm between centres, a whole number, as against the 58.??mm I've seen on some drawings. To me, this dimension isn't as critical, it's ensuring each piece is identical to the next that matters more. I didn't bother with all that chamfering either.
Saturday, January 8, 2011
The Frame Vertex
4:19 PM
A template was marked out and cut from MDF.
Copies were marked and roughly cut out with a jig-saw.
The template was screwed to the rough 'oak blank'.The blank was carefully matched to the template using a router with follow-bearing.
(Do not attempt this process unless you are very exeperienced with your power-tools and take full safety precautions.)
[Cutting the piece with a jig-shaw to match the drawing as accurately as possible will also suffice.]
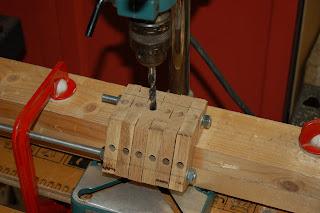
A hole to take the M8 threaded rod is drilled through the pilot holes.
Six vertices are bolted on two threaded bar off-cuts, the perpendicular holes marked as per the drawing, and drilled through.
Here is one Vertex test fitted.
I had concerns originally about the wood splitting, but with it now cut-out and assembled, the hardwood feels very solid. With it bolted from all sides everything seems to hold everything else.


