I made a new heater block. During the
previous experments I concluded that my heat block was probably too large and impacting on 'time to target temperature'. I cut the new heater block from some aluminium square bar, working to dimensions from a more
established design, and managed to successfully transplanted the thermistor and resistor from the old block.
?
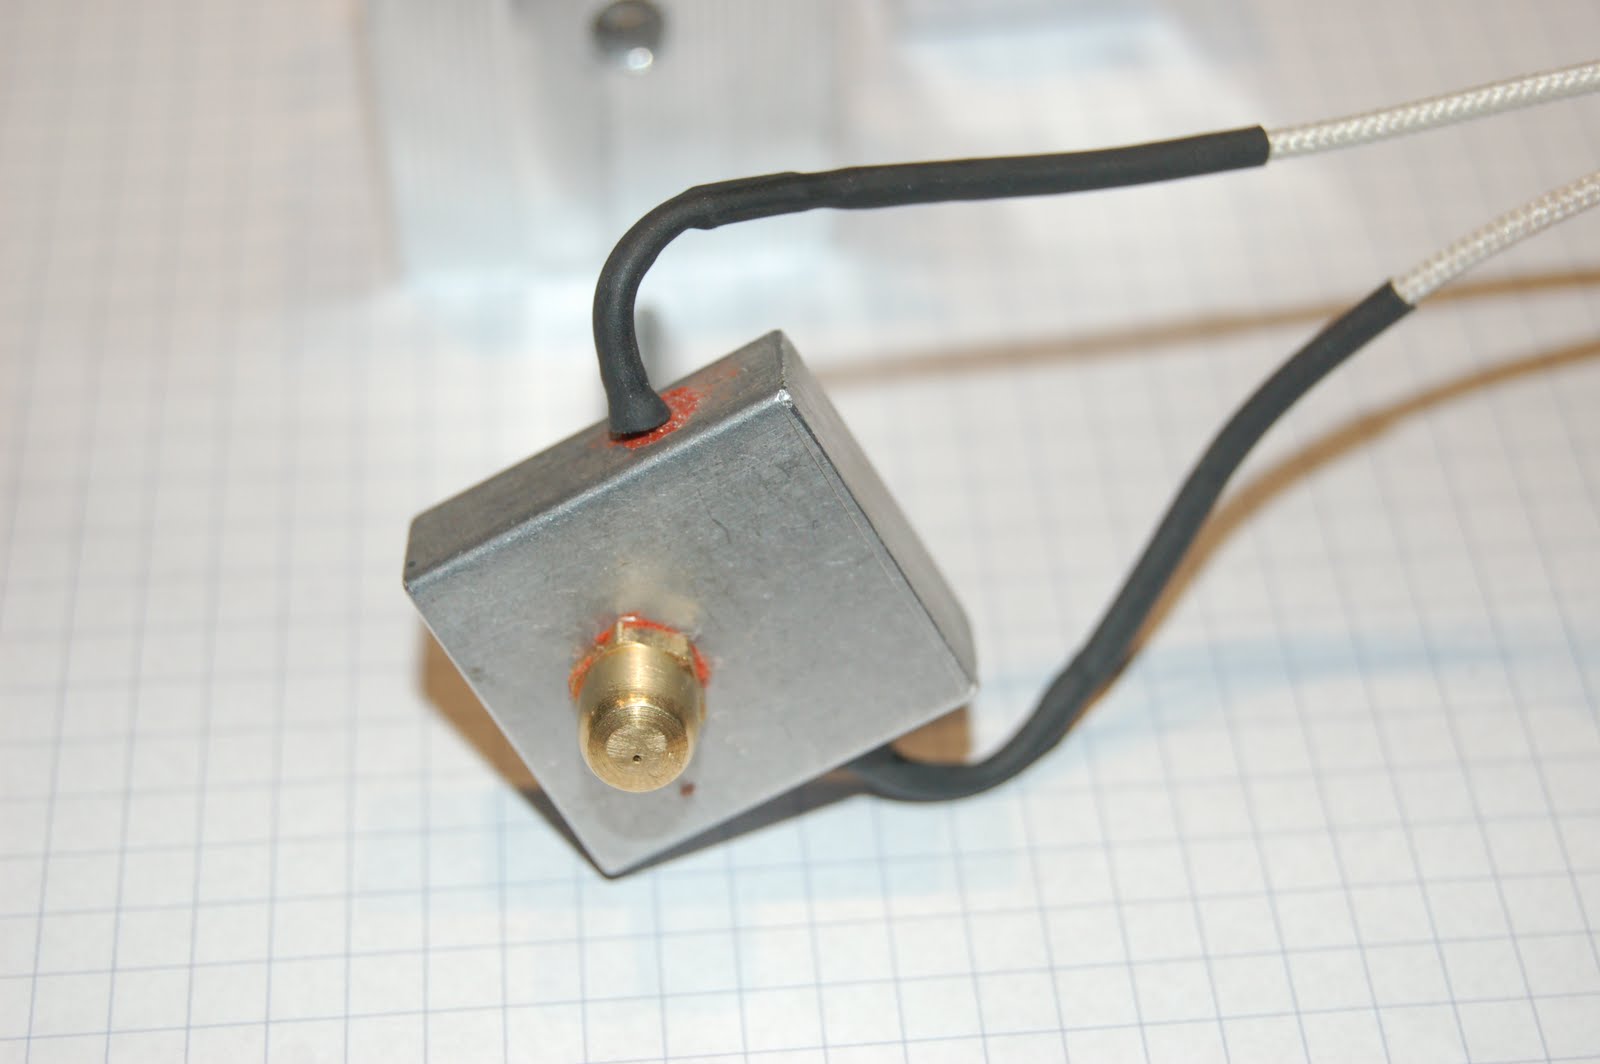
As others have pointed out, it's easily made, if you drill the holes in the block before cutting the final width, in this case 10mm wide.
You can see the newly cut block below beside my original first-go heater block.

My previous hot-end had the feeder pipe and nozzle threads of equal length, but given the aluminium is much more heat-conductive I thought I'd make the nozzle thread longer, presenting more heat to the melting chamber area. The new nozzle was simply cut, threaded and drilled from some 6mm aluminium rod, keeping the materials the same. There was no question of using one piece of SS straight through. The stainless steel feeder tube was by choice because of it's lower heat conductivity (see
here for comparative conductivities), a key part of this design experiment. But anyway, there was no way I would have been able to drill a small hole in the top given the challenge I had drilling a 3.5mm hole in it. Slow drill speed and lots of pressure with a good feed rate was the trick to drilling stainless steel.

I had wrapped the resistor in tinfoil and bedded the thermistor in some PTFE tape so they were easily recovered from the old heater block. I was interested to see how it survived it's regular toasting. Here it is...just after removal.
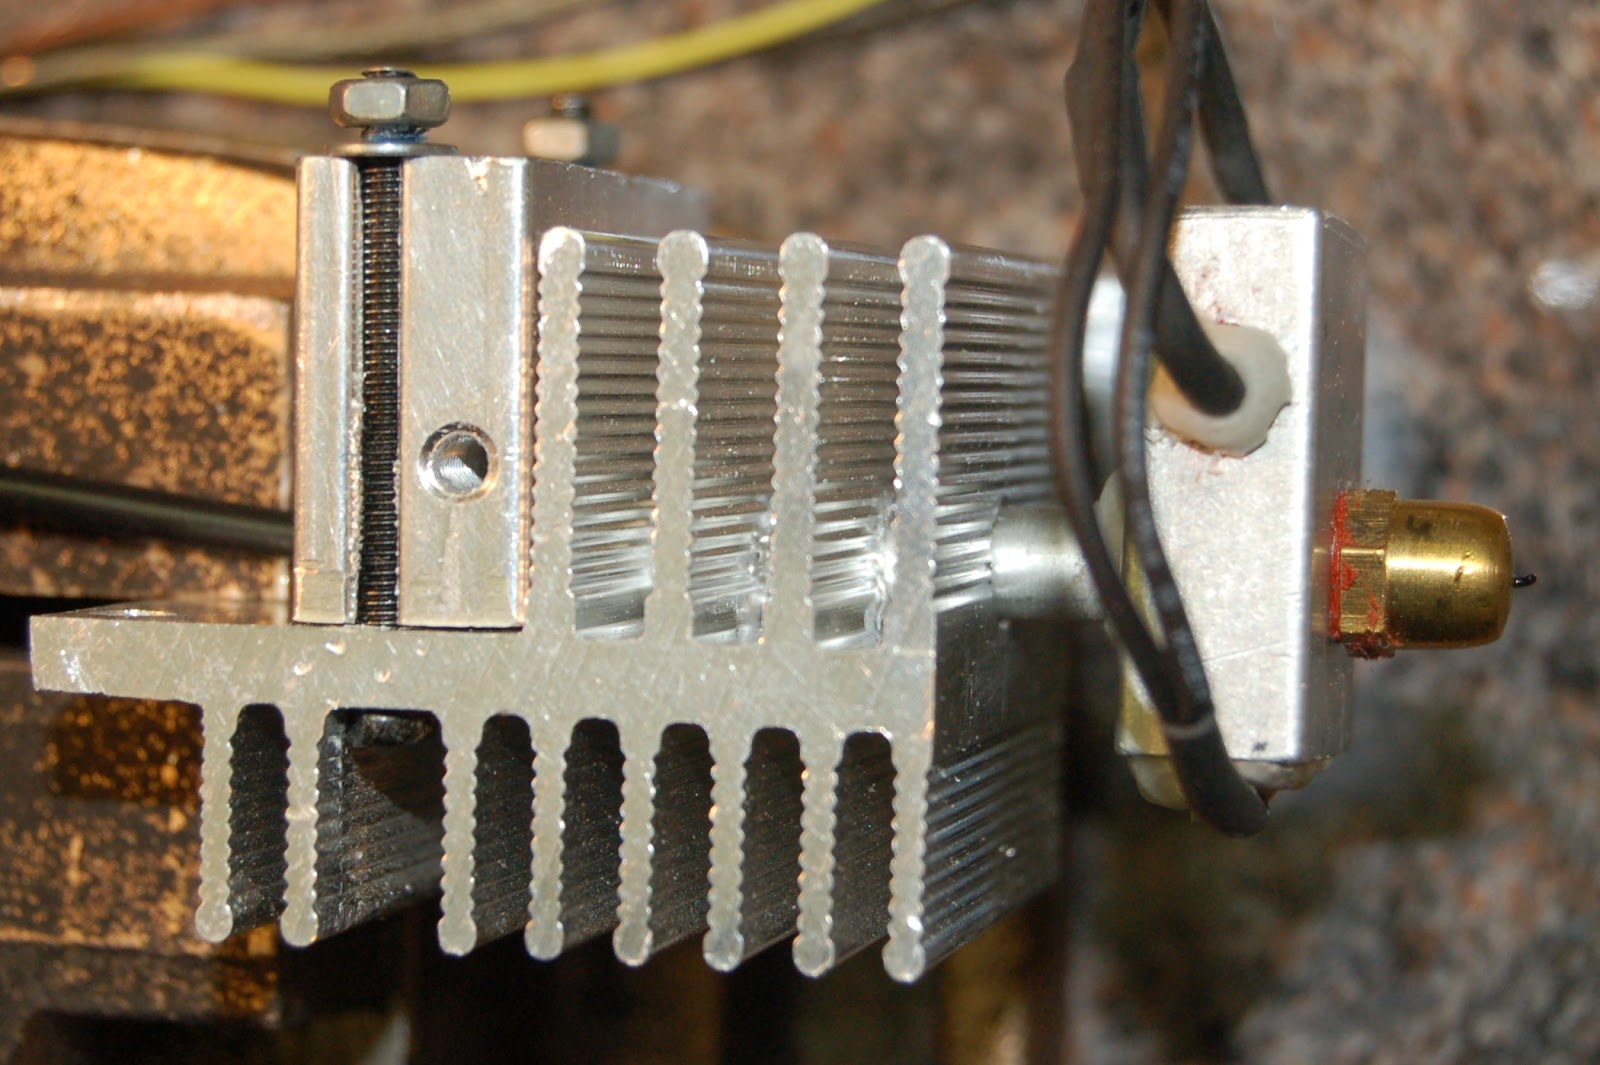
I refitted them to the new heater block, secured them with some high-temperature silicone, then mounted the assembled heater block back on the aluminium heat-sink ready for some heat testing!
The keen observers may notice I've removed some fins from the heat-sink. I figured it was way too efficient so we'll see how it works now! I also want a short feeder distance, with a quick transition from cool to hot.
The tests: I connected the hot-end back up to the Gen6 board, and plugged in my laptop, launching RepSnapper. I did two basic tests, manually logging the temperature every 10sec as the new rig was set the task of heating to a target temperature of 200Deg C, i) without the little cooling fan on the heat-sink, and ii) with the fan on. The fan was a 25mm/1" 12v fan. Here are the results...
Observations:
The new heater block is a complete success, in terms of reducing heating times, exceeding 150Deg C in under 2min, whereas the old block took more than 5min to reach the same temperature!
The temperature rose more quickly in the 'fan off' test, and stabilised more closely to the target temperature, maintaining about a 3deg higher stable temperature than the 'fan on' test.
The 'fan on' test took about 2min longer to reach it's max stable temperature.
The target temperature in both tests was never reached in the 'actual' temperature display in RepSnapper. The heater-on green light would flicker from time to time as it approached the target temp (200DegC).
Observations surrounding heat transfer to the aluminium vained heat-sink...
In the 'fan off' test the heat sink warmed up after a few minutes, and eventually reached a temperature at which it was uncomfortable to touch (that's as scientific as I can measure it at the moment! :-) ).
In the 'fan on' test the heat sink remained cool for a good while and eventually reached a touch warm temperature.
Conclusions:
A combination of reduced heater block size and reduced heat-loss through the feeder tube, by using a less conductive material (stainless steel) has brought the 'heat to target temperature' time in to an user acceptable range. (heater block and nozzle are still aluminium.)
The use of a cooling fan on the heat-sink is essential to maintain a cool filament feeder tube (in this design). Remember, a cool feeder tube stops the filament softening and potentially swelling and jamming in the feeder tube, and in extreme cases of upward heat creep, deforming under the pressure of the idle bearing against the feeder spindle. Cold rigid filament gives a good piston effect on the molten plastic in the melt zone and gives good retraction when reversing.
The use of a cooing fan on the heat-sink from the time you turn on the heater is counter productive, and simply reduces the 'time to target temperature' unnecessarly. A better design would be some kind of simple temperature feedback loop from the heat-sink to the cooling fan, turning it on only as the temperature in the heat-sink began to rise. My setup right now is either 'fan on' when heater on, or fan not on at all.
Final conclusion for today is that the stainless steel feeder tube on it's own offers a very rigid and stable method of supporting the heater block and extruder nozzle, no other supports or supporting materials required. While I haven't conducted full extruder/printing tests, initial impressions of the rigidity of this structure are very positive.
Here's another photo from the rear of the heat-sink where you can observe how the stainless feeder tube is clamped in place and passes through the heat-sink vanes.
Thanks for viewing!


